Contractor/Subcontractor Setup
The contractor/subcontractor setup process has two steps.
- The first step is to setup the contractor if they do not already exist.***
- The second step is to assign the contractor to the project(s).
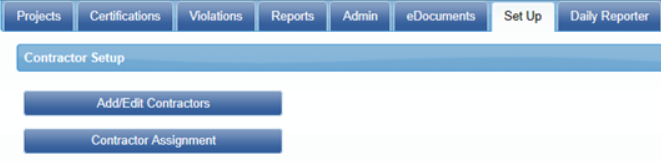
Step 1: Contractor Setup > Add/Edit Subcontractors
The Add/Edit Contractor screen allows the Agency/Admin to enter a contractor that will be working on their project(s) and submitting certified payroll records (CPRs) for review. 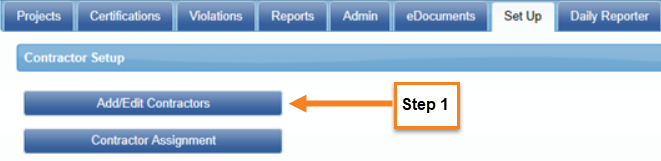
*** Before adding your contractor, ask if they are a current user.
- If so, ask them for their exact User ID that they currently use to log into the LCPtracker system. This is to prevent them from having to use multiple user IDs for different accounts.
- If not, continue with entering their contractor license, or ten-digit phone number.
You will still move forward with setting up this company as a “new” account under the database you are working in. Enter their current User ID in the “Contractor License No. or 10-digit Phone Number” field. The system will then automatically link their accounts for them.
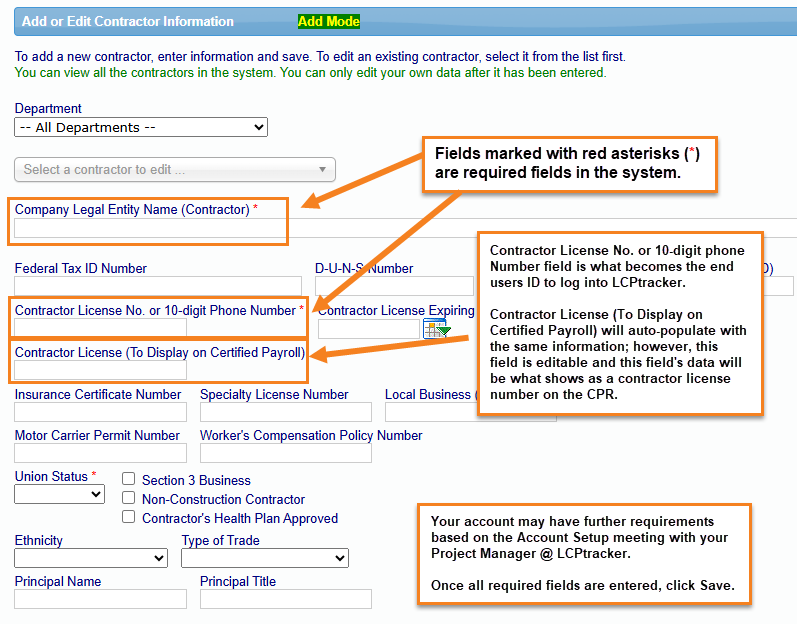
Note: the field labeled “Contractor License No. or 10-digit Phone Number” becomes the end users User ID.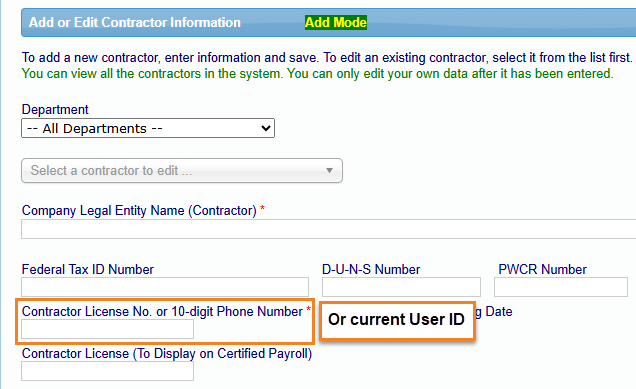
To add a contractor, enter the name, and all the relevant information as required during the database setup. The fields marked with a red asterisk will be required before saving a contractor entry.
To edit a contractor, select the Contractor name from the drop down. Generally, the administrator only enters the prime contractor information, and the prime contractor enters their subcontractors, and the subcontractors enter their lower tiered subs, etc.
We have highlighted the minimal fields to save the contractor setup although additional fields can be set as a requirement. An LCPtracker Implementation Project Manager or Account Manager goes through a series of questions to set these requirements when a new database is created for a client.
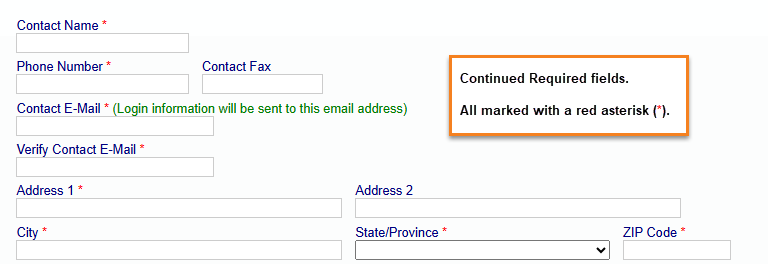
The Contact E-mail field information should be the contractor’s main user of LCPtracker. It is important that this entry is correct, prior to saving, as LCPtracker is designed to communicate with system users through this email address. This should be the person responsible for handling certified payrolls for that contractor.
The following fields that have the red asterisk are already fulfilled with the entry made and do not need to be changed unless the specific situation requires an override. Please contact your LCPtracker Implementation Project Manager or Account Manager before making changes. 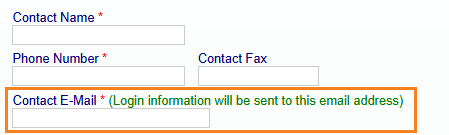
The Standard Hours per Day field provides an override value for that contractor only to the hours set in the prevailing wage table. For example, the prevailing wage table says that 8 hours per day is the standard workday, but a contractor has been approved 10 hours per day /agreement. The “Standard Hours per Day” field could be set to 10. 
Notice enforcement is a setting that only Administrators can make that overrides the settings made in the Set UP under Validation settings. Please contact your LCPtracker Implementation Project Manager or Account Manager before changing this setting as this will have an effect on how the system runs the validations.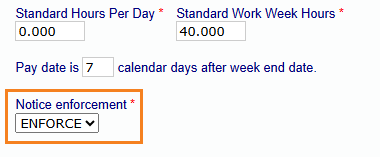
Administrator Settings for Owner/Operator 
Owner operators are treated in various ways in LCPtracker:
- They are required to report as subcontractors and report weekly payroll dollars and hours worked;
- They are treated as special employees and must report weekly payroll dollars and hours worked;
- They are required to report as subcontractors but report only hours worked;
- They are treated as special employees but report only hours worked;
- They are required to report as subcontractors but report only payroll dollars for project;
- They are treated as special employees but report only payroll dollars for project;
- They are treated as employee and will not be required to report wages or hours;
- They are required to report as subcontractors but submit a blank payroll record; or
- They are treated as special employees but submit a blank payroll record.
Administrators can set which combination of reporting above they want to do. The Agency/Admin will set their requirement at the department settings page.
The business certifications section is a way to collect if the contractor has a business certification such as DBE, LBE, WBE, MWBE, etc., as well as the certifying agency where the contractor acquired the certificate. 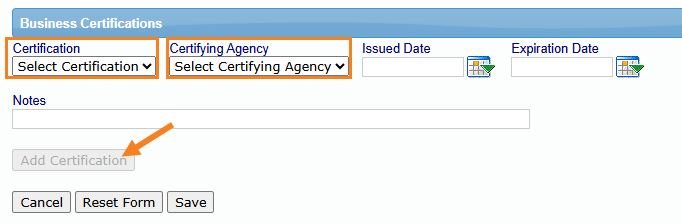
The drop-down list available for certifications and certifying agencies is configurable by the database Admin under Setup.
If business certifications are set as a required field, even if the contractor does NOT have a business certification, you will still be required to select None and Not Available and click “Add Certification”.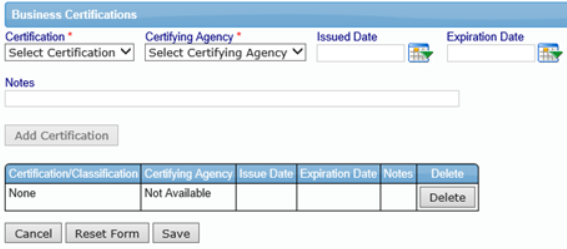
This information entered will be displayed on the Contractor Report.
Once you have completed your entry, click Save. 
You will receive a pop-up telling you “Contractor has been sent an email notifying them. Don’t forget to assign this Contractor to a project”. You will now move to step 2 of the contractor setup.
LCPtracker will automatically email the subcontractor their User ID and Temporary Password.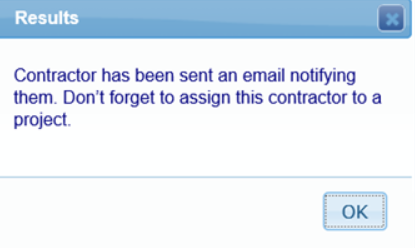
Step 2: Contractor Setup > Contractor Assignment
The contractor cannot see the project until assigned. Under the Set Up navigation tab, choose Contractor Setup then Contractor Assignment. 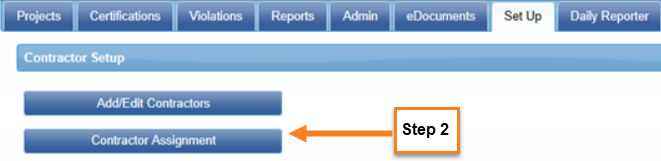
The next step after you have setup your contractors/subcontractors in the system is to assign them to the project(s).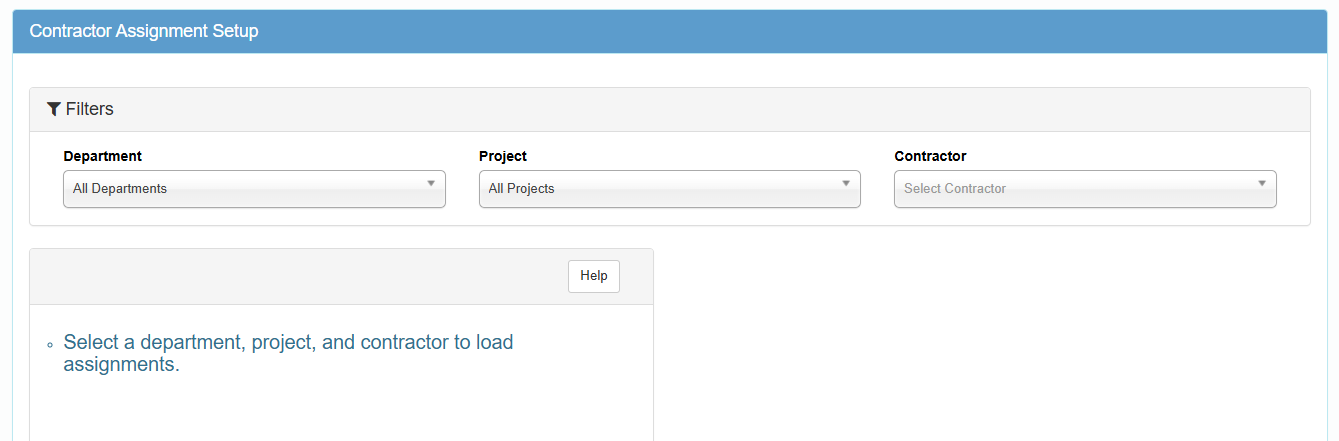
You will start by assigning your prime contractor to the project. To do this, first select the department and project. Once you have entered that, you will see the project in the lower left side of your screen.
Hover over the project and you will see a green + sign. Click the + and a new entry page will appear to the right.
Select the Contractor you wish to assign as the Prime. The Contract ID field will be a mandatory field to complete. 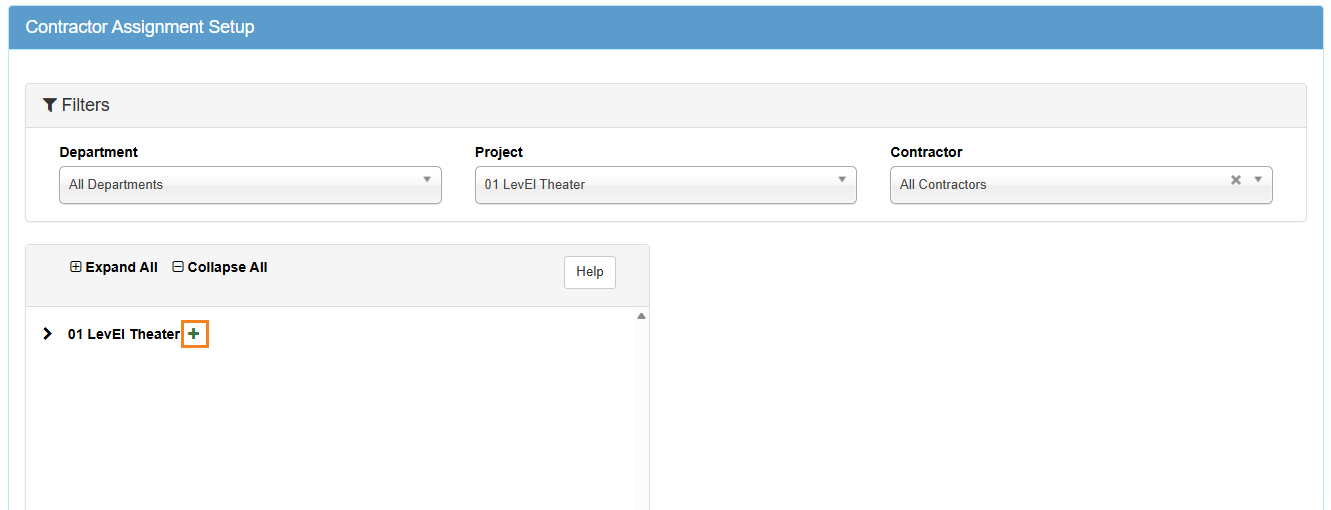
You may see additional fields that have a red asterisk. These fields will be required to complete before you can save your entry. You may choose to enter information in the fields even if they are not required.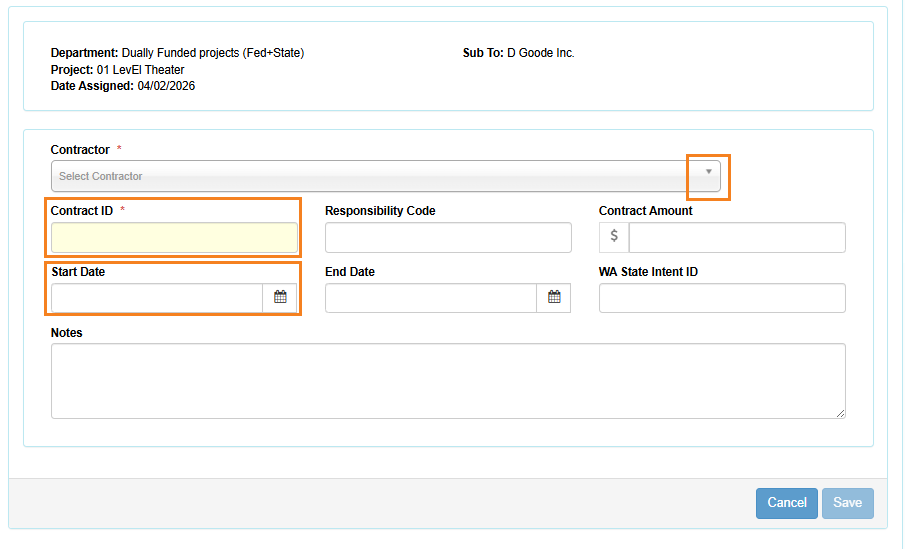
Once you have completed your entry, click on Save.
After you have completed your entry, you will now see the Prime listed under your project. 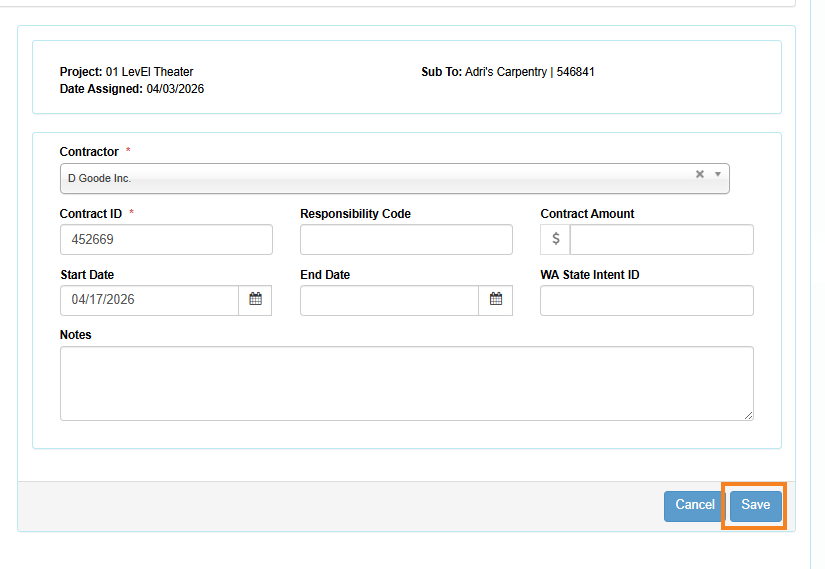
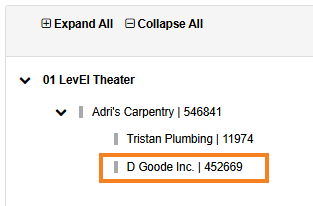
Repeat this step for all the subcontractors and lower tiered subcontractors that will be working on the project.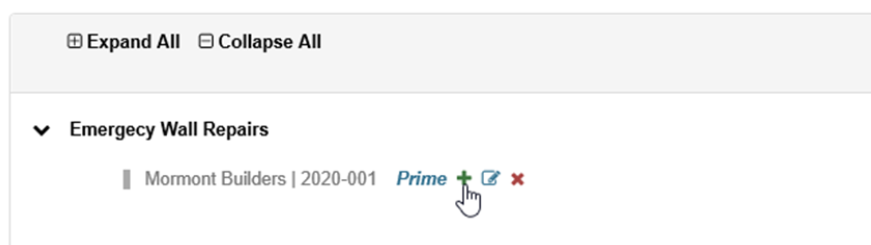
Select a department – Select the department that is assigned to the project.
Select a project – You need to choose the project that you are assigning your Contractor/Subcontractor to.
Assign Contractor using + or x - Click on the + to add a subcontractor or x to delete an assignment.
Contractor to be assigned – Choose the Subcontractor you need to assign to the project as your subcontractor. This is usually the subcontractor you just set up in the system. Some, however, are already in the system and you just need to assign them to the project as your subcontractor.
Contract ID – The Contract ID is the contract number between you and the subcontractor. This field will help the subcontractor identify the contract to enter payrolls for if that contractor has multiple accounts under one project. If you do not have a Contract ID or numbering system, you will still need to assign a contract ID for each subcontractor. The number does not need to be unique unless the same subcontractor has two or more contracts within the same project.
Responsibility Code – Optional field, some Admins will require this information. Typically used with an USACE project.
Contract Amount – Optional field, some Admins may want this information. This is the amount of the contract between you and your subcontractor.
Start Date – The date that your subcontractor is starting work on the project. This field can be changed after the initial save has been done. The Late CPR Summary report utilizes this field for later CPR reporting.
End Date – Optional field, some Admins may want this information.
Notes – Optional field, some Admins may want this information, or you may choose to add your own notes.
After you have entered all required information, be sure to click Save. Your subcontractor will now be sent a second email informing them they have been assigned to a project.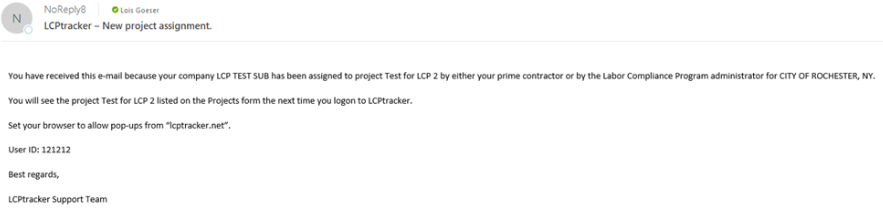
You will see the saved contractor assignment listed in the Contractor Assignment Setup screen. 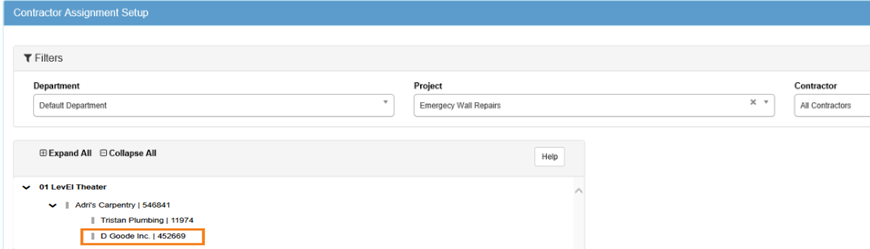
Was this article helpful?
That’s Great!
Thank you for your feedback
Sorry! We couldn't be helpful
Thank you for your feedback
Feedback sent
We appreciate your effort and will try to fix the article